Do Not Stop Beginner Guide (2026)
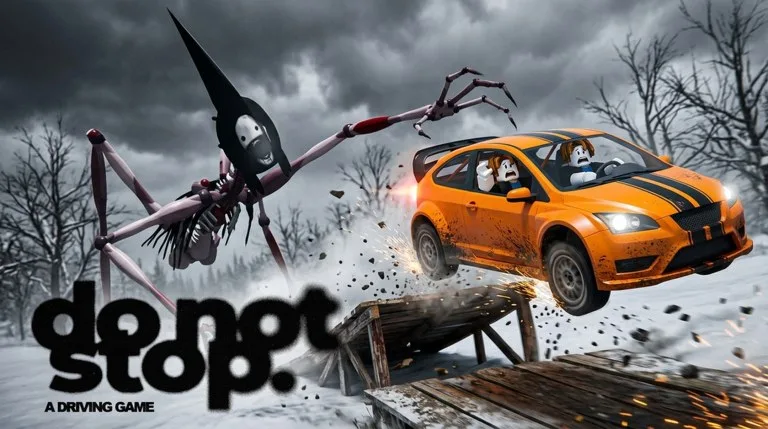
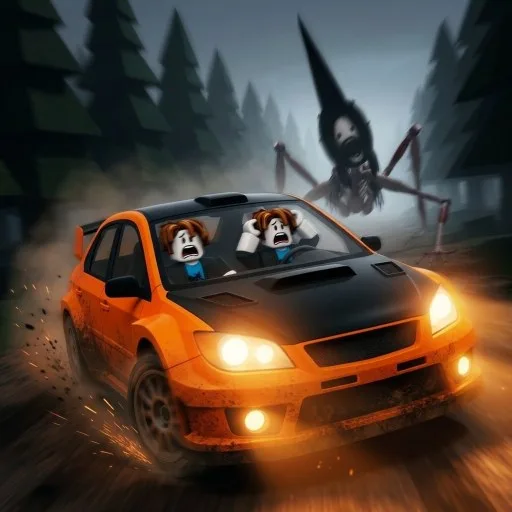
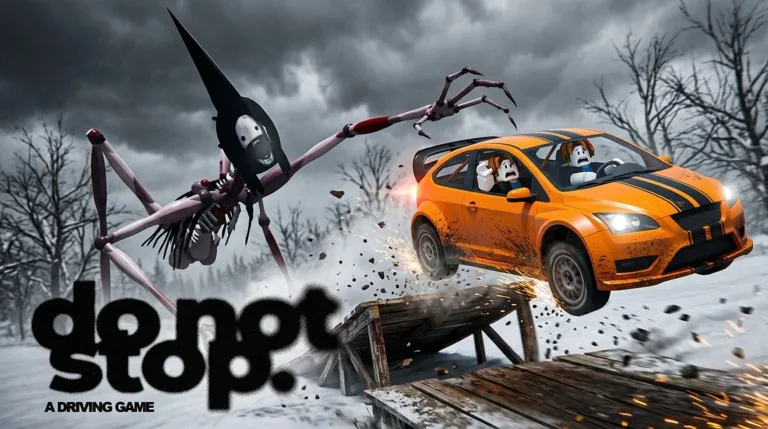
Do Not Stop by the make sure to drive fast group is a Roblox analog-horror driving game with a simple official rule: do not stop driving, or it will catch you. The listing says the game is inspired by analog horror creatures and stories. This beginner guide covers the lobby-to-shelter loop, basic driving, and how to spend early Credits — not a full route or car list.
Guide researched November 15, 2026 (Pacific Time) from the official Roblox experience page and public writeups of the lobby pads, Route 1610, and Garage. Route layouts and car unlocks can change in updates, so confirm the current Maps and Cars tabs in-game.
How a run starts
You begin in the lobby, not already on the road. Public guides and player walkthroughs agree on this order:
- Step onto a pad. Each pad is one car with a driver seat and a passenger seat (the sign typically reads 1/2). Walking onto a pad opens the route menu.
- Pick Route 1610 first. Public maps screens mark it Easy, and it is the usual first route. Flip through the other routes only after you can finish this one cleanly.
- Press Drive Alone, or take a passenger. Drive Alone starts the run immediately. A passenger’s job, as loading tips describe it, is to watch the scanner: it shows the road ahead and the Runner in red when it gets close.
The same pad menu may include Endless and Anyone Can Join toggles. Leave Endless off until you understand a normal shelter finish.
Driving: keep moving, stay on the road
Public control lists match a standard Roblox vehicle layout:
- W to accelerate and S to brake.
- A and D to steer.
- Space to drift around corners.
The official premise is that stopping is how you get caught, so treat braking as a last resort. Loading tips also warn that grass has less grip and drags the car down — keep your wheels on the asphalt. A timer and a mile counter sit on the windscreen, with a turn indicator for the next corner. Your goal is the shelter at the end of the route, where the game logs your time and a medal.
Public writeups say that if you are caught after passing a mile sign, you can retry from that sign rather than restarting the whole route. Confirm the current retry prompt in-game; do not count on it before the first mile marker.
The Garage, Credits, and cars
Back in the lobby, open the Garage. It has Shop, Profile, Cars, Cosmetics, and Codes tabs. Credits are the currency for shop items, crates, and later cars. You earn Credits by finishing runs, and you can add a large early pile by redeeming the official codes listed on the experience page.
Public car lists start you in the Veltrano (a Grade D 4WD Turbo in those writeups) and then unlock later cars by level — often Hartmann at level 4, Rovelle at 8, Kanzaki at 13, and Branca at 20. Treat those level gates as a public snapshot, not a patch note, and check the Cars tab after you rank up.
For the current official Credit codes and the exact Garage redeem path, see our Do Not Stop codes page.
A simple first-session plan
- Redeem the official codes in Garage > Codes before you spend a long grind on Credits.
- Run Route 1610 solo until you can reach the shelter without leaving the road or panic-braking in corners. Drift with Space instead.
- On harder routes, bring a friend in the passenger seat to call the scanner and the Runner.
- Spend Credits on a car or useful shop item only after you can finish Easy consistently. The starter car is enough for the first route.
Do Not Stop is built around fear and motion, not combat. If a run feels unfair, drop back to Route 1610, stay on the pavement, and keep the car moving.